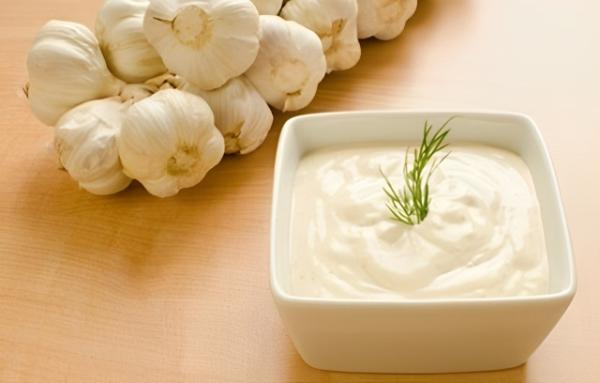
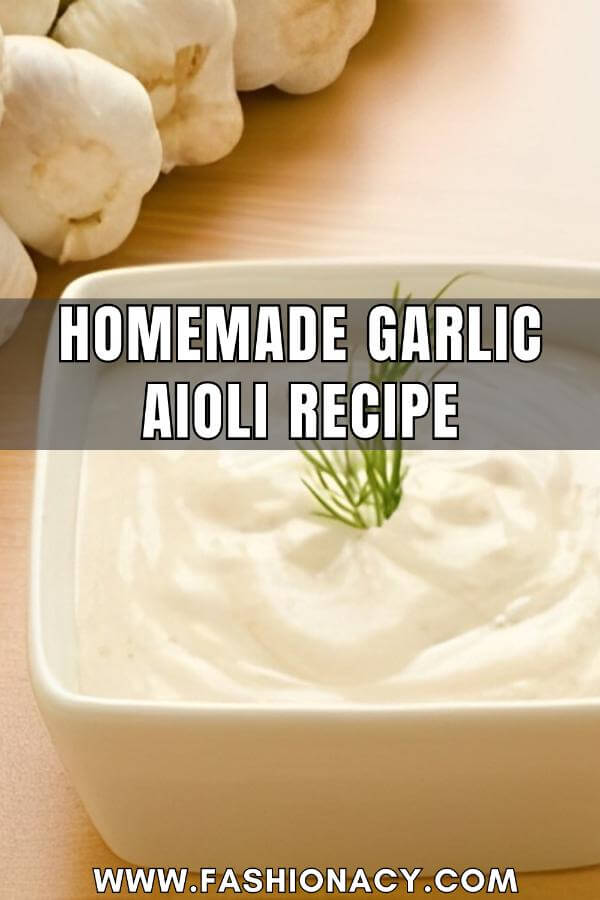
If you’re a fan of dipping sauces, then garlic aioli is probably already on your radar. This creamy, garlicky concoction is a perfect complement to so many dishes, from crispy fries to grilled veggies and beyond.
The best part? Making your own garlic aioli at home is not only incredibly easy but also allows you to customize it to your taste preferences. So, let’s dive into the world of homemade garlic aioli!
Ingredients:
Here’s what you’ll need:
- 2 cloves of garlic (more if you’re a garlic fiend like me!)
- 1/2 cup mayonnaise (you can use store-bought or make your own if you’re feeling adventurous)
- 1 tablespoon lemon juice (freshly squeezed is best)
- Salt and pepper to taste
- Optional: a pinch of cayenne pepper or paprika for a little extra kick

Instructions:
- Prep the Garlic: Start by peeling the garlic cloves and mincing them finely. You want the garlic to be well-distributed throughout the aioli, so take your time with this step.
- Mix it Up: In a small bowl, combine the minced garlic, mayonnaise, and lemon juice. Stir everything together until well combined. This is where you can get creative – if you like your aioli on the tangier side, add a little more lemon juice. If you prefer it more garlicky, toss in an extra clove of minced garlic.
- Season to Taste: Once everything is mixed together, give your aioli a taste and season with salt and pepper as needed. Don’t be afraid to adjust the seasoning to suit your preferences – this is your aioli, after all!
- Add Some Heat (Optional): If you like a bit of spice, now’s the time to add a pinch of cayenne pepper or paprika. Just a little bit will give your aioli a subtle kick without overpowering the other flavors.
- Chill Out: Transfer your freshly made garlic aioli to a serving dish and cover it with plastic wrap. Pop it in the fridge for at least 30 minutes to let the flavors meld together. Trust me, it’s worth the wait!
- Serve and Enjoy: Once chilled, your garlic aioli is ready to serve. It’s the perfect accompaniment to so many dishes – from crispy french fries to grilled shrimp to roasted vegetables. Get creative and experiment with different flavor combinations!
Tips and Tricks:
- If you’re short on time, you can make a quick version of garlic aioli by simply mixing minced garlic with store-bought mayonnaise and a squeeze of lemon juice. It won’t have quite the same depth of flavor as the homemade version, but it’ll still be delicious!
- Don’t like raw garlic? No problem! You can roast the garlic cloves before mincing them to mellow out their flavor. Simply drizzle the cloves with olive oil, wrap them in foil, and roast in a 400°F oven for about 20 minutes, or until soft and golden brown.
- Feel free to customize your aioli with additional ingredients like fresh herbs (think parsley, chives, or basil) or grated Parmesan cheese for an extra flavor boost.
And there you have it – a simple, yet oh-so-delicious recipe for homemade garlic aioli. Once you try it, you’ll never go back to store-bought again! So grab your garlic and get dipping – your taste buds will thank you.
Garlic Aioli Recipe Without Mayo
Here’s a garlic aioli recipe without mayo:
Ingredients:
- 2 cloves of garlic
- 1 egg yolk
- 1 tablespoon lemon juice
- 1/2 cup olive oil
- Salt and pepper to taste
Instructions:
- Prepare the Garlic: Peel the garlic cloves and finely mince them.
- Whisk the Egg Yolk: In a mixing bowl, whisk the egg yolk until it becomes slightly frothy.
- Add Lemon Juice and Garlic: Add the minced garlic and lemon juice to the egg yolk, and whisk until well combined.
- Slowly Add Olive Oil: While whisking continuously, slowly drizzle in the olive oil. It’s crucial to add the oil gradually to ensure proper emulsification.
- Continue Whisking: Keep whisking until the mixture thickens and reaches a creamy consistency, similar to traditional aioli.
- Season to Taste: Once the aioli is formed, season it with salt and pepper to taste. You can also adjust the amount of garlic and lemon juice according to your preference.
- Chill and Serve: Transfer the garlic aioli to a serving dish and refrigerate for at least 30 minutes before serving. This allows the flavors to meld together and enhances the taste of the aioli.
- Enjoy: Serve your homemade garlic aioli with your favorite dishes, such as roasted vegetables, grilled meats, or as a dipping sauce for crusty bread.
Tips and Variations:
- If you’re concerned about using raw egg yolk, you can use pasteurized eggs to minimize the risk of foodborne illness.
- For a creamier texture, you can substitute some or all of the olive oil with a neutral-flavored oil like grapeseed or avocado oil.
- Experiment with additional flavors by adding herbs such as basil, parsley, or chives, or spices like paprika or cayenne pepper.
- This garlic aioli can be stored in an airtight container in the refrigerator for up to one week. Just make sure to give it a good stir before serving if it separates slightly.
With this mayo-free garlic aioli recipe, you can enjoy the creamy, garlicky goodness without any mayonnaise involved. It’s a versatile condiment that adds a flavorful punch to any dish!
