
Embarking on a culinary adventure often leads to delightful meals and unforgettable moments, but it can also leave behind a trail of stubborn stains and burnt-on messes, especially in our trusty kitchen companions: pots, pans, stovetops, and ovens.
Fear not, for in this comprehensive guide, we unveil the secrets to conquering these culinary battlefields. From rescuing scorched pans to reviving grease-stained stovetops and banishing burnt-on residue from ovens, we present practical and effective solutions to restore these kitchen essentials to their former glory.
Join us as we delve into the art of cleaning burnt kitchenware and unveil the tips, tricks, and techniques that will leave your kitchen sparkling clean and ready for your next culinary masterpiece.
Table of Contents
How to Clean Burnt Pan
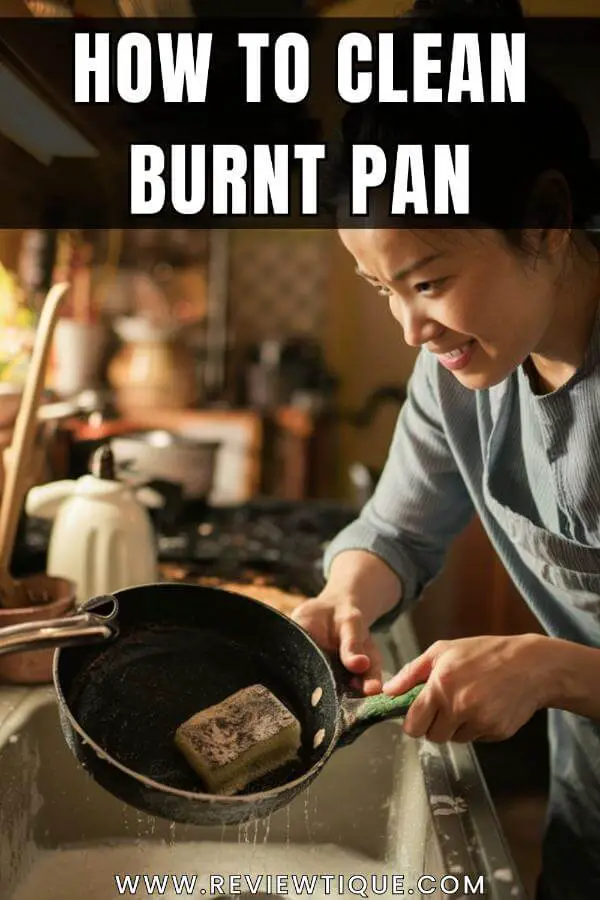
Cleaning a burnt pan can be a daunting task, but with the right techniques and a little bit of patience, you can restore it to its former glory. Burnt-on food and stubborn stains can seem impossible to remove, but fear not—there are several methods you can employ to tackle even the toughest messes. Whether your pan is coated with burnt oil, food residue, or blackened stains, follow these steps to bring it back to life.
Materials You’ll Need:
- Baking Soda
- White Vinegar
- Dish Soap
- Lemon
- Salt
- Aluminum Foil
- Boiling Water
- Scrubbing Pad
- Wooden or Plastic Utensils
- Rubber Gloves
Step 1: Assess the Damage
Before you start cleaning, assess the extent of the damage. Determine whether the burn marks are superficial or deeply ingrained into the pan’s surface. This will help you choose the appropriate cleaning method and materials.
Step 2: Soak the Pan
Fill the burnt pan with hot water and add a generous amount of dish soap. Let it soak for at least 30 minutes, or overnight if the burns are severe. Soaking will loosen burnt-on food particles and make them easier to remove.
Step 3: Scrub with Baking Soda
After soaking, sprinkle baking soda over the burnt areas of the pan. Add a few drops of water to create a paste, then use a scrubbing pad to gently rub the baking soda into the stains. Baking soda is a mild abrasive that helps lift burnt-on residue without damaging the pan’s surface.
Step 4: Apply White Vinegar
If baking soda alone doesn’t do the trick, try adding white vinegar to the mix. Pour a small amount of vinegar onto the baking soda paste and watch it fizz as it reacts with the burnt-on stains. Let the mixture sit for a few minutes before scrubbing again with a scrubbing pad.
Step 5: Use Lemon and Salt
For stubborn stains, cut a lemon in half and dip it in salt. Use the lemon as a scrubber, rubbing it over the burnt areas of the pan. The acidity of the lemon combined with the abrasive action of the salt can help break down tough stains and lift them from the surface of the pan.
Step 6: Boil Water
If there are still burnt-on residues clinging to the pan after scrubbing, try boiling water in it. Fill the pan with water and bring it to a boil. Let it simmer for a few minutes, then remove it from the heat and let it cool. The heat and steam will help loosen stubborn stains, making them easier to scrub away.
Step 7: Use Aluminum Foil
If all else fails, try using aluminum foil as a scrubber. Crumple up a piece of foil into a ball and use it to scrub the burnt areas of the pan. The abrasive texture of the foil can help lift even the toughest stains without scratching the pan’s surface.
Step 8: Rinse and Dry
Once you’ve removed all traces of burnt-on food and stains, rinse the pan thoroughly with warm water to remove any remaining residue. Dry it with a clean towel or let it air dry completely before storing it away.
Additional Tips:
- Avoid using metal scouring pads or abrasive cleaners, as they can scratch and damage the surface of the pan.
- For non-stick pans, avoid using harsh chemicals or abrasive cleaners, as they can strip away the non-stick coating.
- Regular maintenance can help prevent burnt-on stains from forming in the first place. Always clean your pans promptly after use and avoid cooking foods at high temperatures for extended periods.
Cleaning a burnt pan may require some elbow grease, but with the right techniques and a little bit of patience, you can restore it to its former glory. By following these steps and using simple household ingredients, you can keep your pans looking like new for years to come.
How to Clean Burnt Stove Top
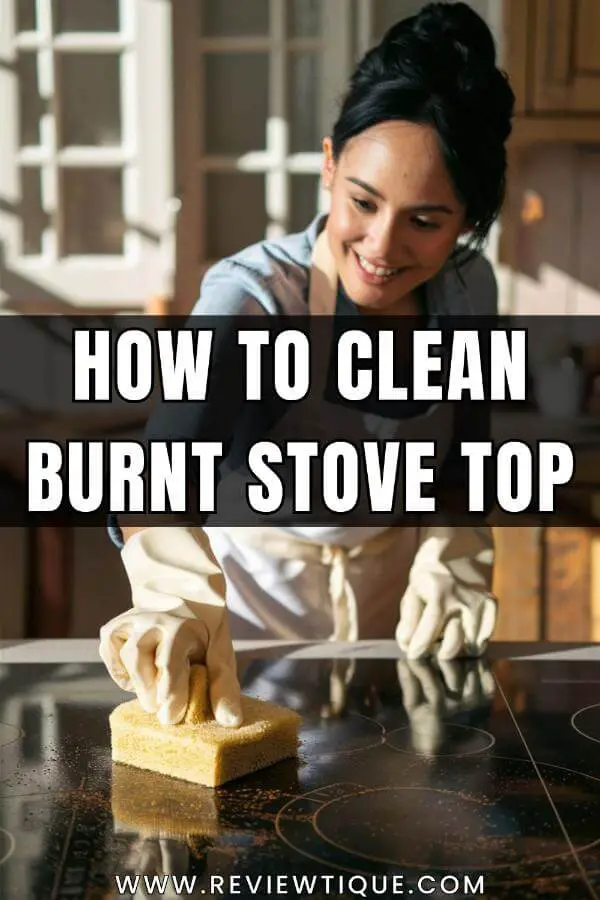
Cleaning a burnt stove top can be a challenging task, but with the right approach and some elbow grease, you can restore it to its original shine. Burnt-on food, grease, and spills can accumulate over time, leaving your stove looking unsightly and difficult to clean. However, by following these steps and using some simple household ingredients, you can effectively remove burnt-on stains and restore your stove top’s appearance.
Materials You’ll Need:
- Baking Soda
- White Vinegar
- Dish Soap
- Lemon
- Warm Water
- Microfiber Cloth or Sponge
- Scrubbing Pad or Brush
- Rubber Gloves
Step 1: Allow the Stove Top to Cool
Before you begin cleaning, ensure that the stove top has cooled down completely to avoid the risk of burns.
Step 2: Remove Burnt Debris
Using a damp microfiber cloth or sponge, wipe away any loose debris or food particles from the stove top. Be gentle to avoid scratching the surface.
Step 3: Make a Baking Soda Paste
In a small bowl, mix together baking soda and water to create a thick paste. Baking soda is an effective natural abrasive that can help lift burnt-on stains without damaging the stove top.
Step 4: Apply the Baking Soda Paste
Using a sponge or cloth, apply the baking soda paste to the burnt areas of the stove top. Ensure that the paste covers the stains evenly and let it sit for about 15-20 minutes. This allows the baking soda to penetrate and loosen the burnt-on residue.
Step 5: Scrub with a Scrubbing Pad or Brush
After the baking soda paste has had time to work its magic, use a scrubbing pad or brush to gently scrub the burnt areas of the stove top. Apply firm but gentle pressure to loosen the stains without scratching the surface. For stubborn stains, you may need to repeat this step multiple times.
Step 6: Rinse with White Vinegar
Once you’ve scrubbed away the burnt-on residue, rinse the stove top thoroughly with white vinegar. Vinegar is a natural degreaser and can help remove any remaining grease or residue from the surface.
Step 7: Wipe Clean
Using a clean microfiber cloth or sponge, wipe the stove top clean to remove any remaining baking soda residue or vinegar smell. Rinse the cloth or sponge frequently in warm water to ensure effective cleaning.
Step 8: Polish with Lemon
For an extra shine, cut a lemon in half and rub it over the clean stove top. The acidity of the lemon can help remove any leftover stains and leave your stove looking sparkling clean.
Step 9: Dry Thoroughly
Once you’ve finished cleaning, use a dry microfiber cloth to thoroughly dry the stove top and prevent water spots or streaks from forming.
Additional Tips:
- Avoid using abrasive cleaners or scouring pads, as they can scratch the surface of the stove top.
- Regular maintenance is key to preventing burnt-on stains from accumulating. Wipe down the stove top after each use and clean up spills promptly to avoid stubborn stains.
- For stubborn stains or burnt-on grease, you can also try using a commercial stove top cleaner or degreaser. Follow the manufacturer’s instructions carefully and test the product on a small, inconspicuous area first.
With these simple steps and a little bit of effort, you can effectively clean a burnt stove top and restore it to its original shine. By using natural ingredients and gentle cleaning techniques, you can keep your stove looking clean and fresh for years to come.
How to Clean Burnt Pots
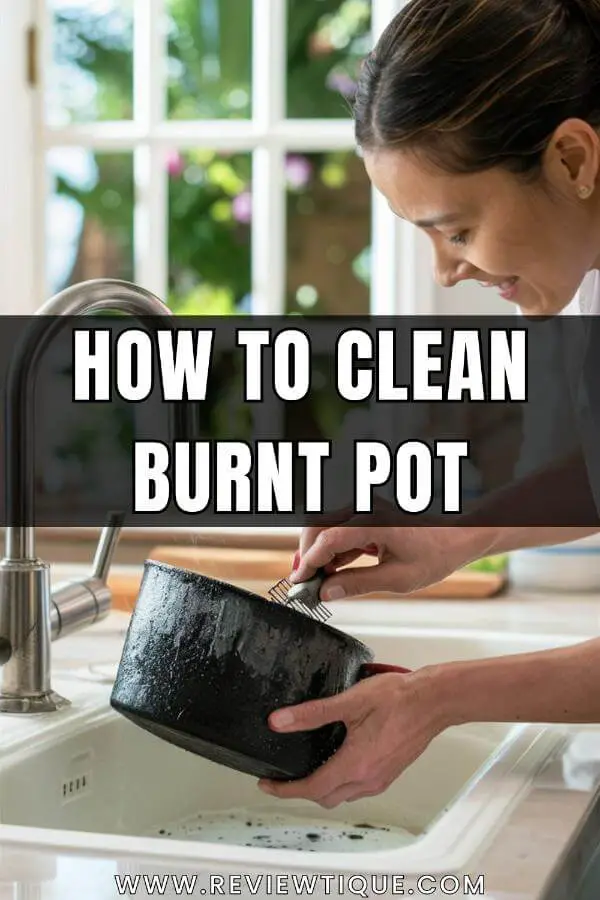
Cleaning burnt pots can be a frustrating task, but with the right approach and a few simple household ingredients, you can restore them to their former glory. Burnt-on food and stubborn stains can seem impossible to remove, but fear not—there are several methods you can employ to tackle even the toughest messes. Whether your pot is coated with burnt oil, food residue, or blackened stains, follow these steps to bring it back to life.
Materials You’ll Need:
- Baking Soda
- White Vinegar
- Dish Soap
- Lemon
- Salt
- Aluminum Foil
- Boiling Water
- Scrubbing Pad or Brush
- Wooden or Plastic Utensils
- Rubber Gloves
Step 1: Allow the Pot to Cool
Before you begin cleaning, ensure that the burnt pot has cooled down completely to avoid the risk of burns.
Step 2: Scrape off Burnt Residue
Using a wooden or plastic utensil, scrape off any large pieces of burnt-on food or residue from the bottom and sides of the pot. Be gentle to avoid scratching the surface.
Step 3: Make a Baking Soda Paste
In a small bowl, mix together baking soda and water to create a thick paste. Baking soda is a mild abrasive that can help lift burnt-on stains without damaging the pot’s surface.
Step 4: Apply the Baking Soda Paste
Using a spatula or spoon, apply the baking soda paste to the burnt areas of the pot. Ensure that the paste covers the stains evenly and let it sit for about 15-20 minutes. This allows the baking soda to penetrate and loosen the burnt-on residue.
Step 5: Scrub with a Scrubbing Pad or Brush
After the baking soda paste has had time to work its magic, use a scrubbing pad or brush to gently scrub the burnt areas of the pot. Apply firm but gentle pressure to loosen the stains without scratching the surface. For stubborn stains, you may need to repeat this step multiple times.
Step 6: Use White Vinegar
If the baking soda alone doesn’t do the trick, try adding white vinegar to the mix. Pour a small amount of vinegar onto the baking soda paste and watch it fizz as it reacts with the burnt-on stains. Let the mixture sit for a few minutes before scrubbing again with a scrubbing pad or brush.
Step 7: Boil Water
For especially stubborn stains or burnt-on residue, try boiling water in the pot. Fill the pot with water and bring it to a boil. Let it simmer for a few minutes, then remove it from the heat and let it cool. The heat and steam will help loosen stubborn stains, making them easier to scrub away.
Step 8: Use Lemon and Salt
For a natural cleaning solution, cut a lemon in half and dip it in salt. Use the lemon as a scrubber, rubbing it over the burnt areas of the pot. The acidity of the lemon combined with the abrasive action of the salt can help break down tough stains and lift them from the surface of the pot.
Step 9: Use Aluminum Foil
If all else fails, try using aluminum foil as a scrubber. Crumple up a piece of foil into a ball and use it to scrub the burnt areas of the pot. The abrasive texture of the foil can help lift even the toughest stains without scratching the pot’s surface.
Step 10: Rinse and Dry
Once you’ve removed all traces of burnt-on food and stains, rinse the pot thoroughly with warm water to remove any remaining residue. Dry it with a clean towel or let it air dry completely before storing it away.
Additional Tips:
- Avoid using metal scouring pads or abrasive cleaners, as they can scratch and damage the surface of the pot.
- For non-stick pots, avoid using harsh chemicals or abrasive cleaners, as they can strip away the non-stick coating.
- Regular maintenance can help prevent burnt-on stains from forming in the first place. Always clean your pots promptly after use and avoid cooking foods at high temperatures for extended periods.
Cleaning burnt pots may require some elbow grease, but with the right techniques and a little bit of patience, you can restore them to their former glory. By following these steps and using simple household ingredients, you can keep your pots looking like new for years to come.
How to Clean Burnt Oven

Cleaning a burnt oven can seem like a daunting task, especially if the burnt-on food and grease have been accumulating for some time. However, with the right approach and a bit of elbow grease, you can effectively remove the burnt residue and restore your oven to its former cleanliness. Here’s a step-by-step guide to help you tackle this challenging cleaning task:
Materials You’ll Need:
- Baking Soda
- White Vinegar
- Dish Soap
- Water
- Rubber Gloves
- Scrubbing Sponge or Cloth
- Plastic or Silicone Scraper
- Old Towels or Rags
- Spray Bottle
- Aluminum Foil or Oven Liner (optional)
Step 1: Allow the Oven to Cool
Before you start cleaning, ensure that the oven is completely cool to the touch to avoid burns.
Step 2: Remove Loose Debris
Using a plastic or silicone scraper, remove any large pieces of burnt food or debris from the oven. Be gentle to avoid scratching the oven’s interior surface.
Step 3: Make a Baking Soda Paste
In a small bowl, mix baking soda with a small amount of water to form a thick paste. Baking soda is a natural abrasive and will help to loosen stubborn burnt-on residue.
Step 4: Apply the Baking Soda Paste
Spread the baking soda paste evenly over the interior surfaces of the oven, focusing on areas with heavy burnt-on deposits. Allow the paste to sit for at least 30 minutes, or overnight for particularly stubborn stains.
Step 5: Clean with Vinegar Solution
Fill a spray bottle with equal parts white vinegar and water. Spray the vinegar solution over the baking soda paste in the oven, causing it to fizz and react. The reaction will help to loosen the burnt-on residue and make it easier to remove.
Step 6: Scrub the Oven Interior
Using a scrubbing sponge or cloth, scrub the interior surfaces of the oven thoroughly, focusing on areas with burnt-on residue. Apply firm pressure to dislodge stubborn stains, but be careful not to scratch the oven’s enamel or coating.
Step 7: Rinse and Wipe
Once you’ve scrubbed the oven interior, dampen a clean cloth or sponge with water and wipe away the baking soda residue and loosened debris. Rinse the cloth or sponge frequently to prevent spreading the residue around.
Step 8: Repeat if Necessary
For particularly stubborn burnt-on stains, you may need to repeat the baking soda and vinegar cleaning process or use a commercial oven cleaner. Follow the manufacturer’s instructions carefully and ensure adequate ventilation when using chemical cleaners.
Step 9: Clean Oven Racks and Accessories
While the oven is drying, remove the oven racks and accessories and clean them separately. Soak them in warm, soapy water or a vinegar solution, then scrub them with a sponge or brush to remove any burnt-on residue. Rinse thoroughly and allow them to dry completely before placing them back in the oven.
Step 10: Prevent Future Spills
To minimize future spills and make cleaning easier, consider lining the bottom of the oven with aluminum foil or an oven liner. These protective barriers can catch drips and spills, preventing them from burning onto the oven’s surface.
Step 11: Final Touches
Once the oven is clean and dry, inspect the interior to ensure that all burnt-on residue has been removed. If necessary, touch up any remaining stains with a scrubbing sponge or cloth. Finally, close the oven door and enjoy your freshly cleaned appliance!
Cleaning a burnt oven may require some time and effort, but with the right techniques and materials, you can achieve excellent results. By following these steps and incorporating regular maintenance into your cleaning routine, you can keep your oven looking clean and pristine for years to come.
